|
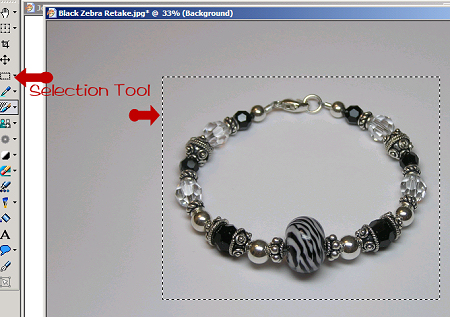
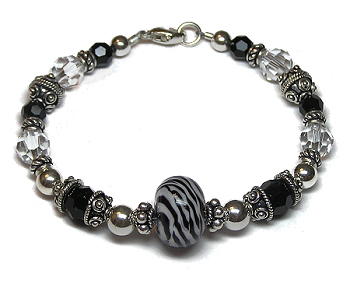
Click on the selection tool and draw around the the bracelet. You should see the dancing ants when you do. Then click on Image / Crop To Selection in the top menu. Then click on Image / Resize and resize the image to whatever your larger photo size would be. I resized to 450 pixels for this tutorial. Then click on Adjust / Sharpen to sharpen up just a little bit.
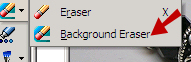
Then click on the background eraser tool and use these settings.
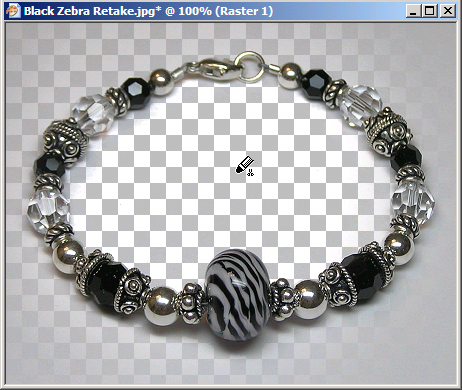
Start erasing the background by clicking once in the middle of the bracelet. Then move to another area outside the bracelet and click. Try clicking once here and there to erase rather than dragging the eraser around the image. Keep going until you have erased all that you want to erase.
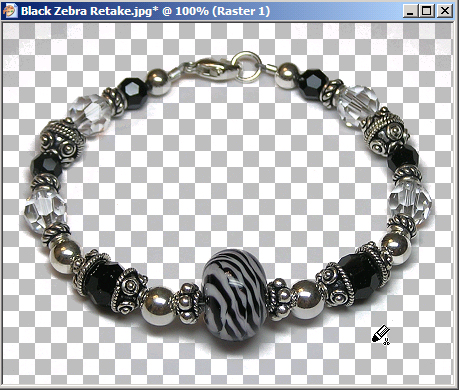
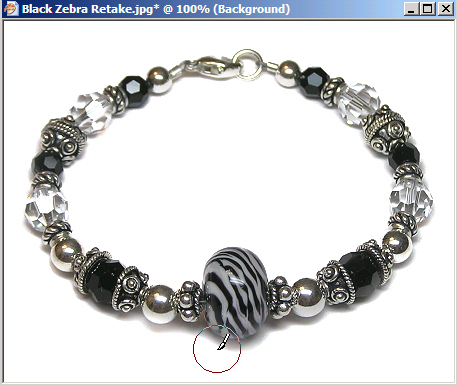
Then click on Layers / Merge All (flatten) and your background should now be white. If you notice a lot of missed erasing around the edges of the bracelet, click undo in the menu above and erase some more. You can "check" your work this way as much as you need to before moving on. Moving on..... There may be some gray speckled areas around the edges that you missed with the background eraser. Just use your paintbrush tool with the foreground set to white and "paint" over those spots. Be careful not to paint over your bracelet image. Don't worry about the speckled areas close to the bracelet. We'll get those in a bit.
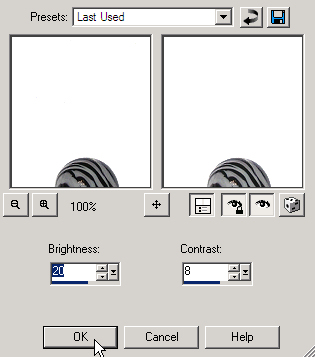
When you're done there, click on Adjust - Brightness and Contrast and brightness/contrast from the menu above. I used 20 and 8 for the settings. Just remember to experiment when you do this step. You want to lighten things up a bit without making the photo look washed out anywhere along the bracelet (such as the crystal bead areas).
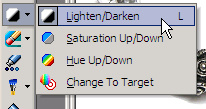
Next choose the lighten/darken tool from the left hand menu and use these settings.
What I do with this tool is sort of make small swipes at the shadows around the bracelet to not only lighten them up a bit, but to smooth them out a little bit too. Just little short swipes with the mouse is what I do.
|
- 86 Users Found This Useful
